Use remotely in production

Install on remote host
Install StrongLoop Process Manager on a remote host from either npm or Docker. Then you can remotely deploy and control your app from your workstation using the StrongLoop tools.
Either:
Install with npm and run as a service
Install StrongLoop Process Manager from npm:
$ npm install -g strong-pmOn Linux distributions that support Upstart or systemd, install Process Manager as a service to ensure it starts when the system boots, aggregates logs properly, and so on; then start it.
Ubuntu 12.04+:
$ sudo sl-pm-install
$ sudo /sbin/initctl start strong-pm
Red Hat Enterprise Linux 7+:
$ sudo sl-pm-install --systemd
$ sudo /usr/bin/systemctl start strong-pm
Red Hat Enterprise Linux 5 and 6:
$ sudo sl-pm-install --upstart=0.6
$ sudo /sbin/initctl start strong-pm
NOTE: On RHEL, by default /usr/local/bin is not on the path, so if you encounter problems, use this install command: sudo env "PATH=$PATH" sl-pm-install
For more information, see Setting up a production host in StrongLoop documentation.
Enable Dockerized apps
When you have Docker installed on your production host, you can set up StrongLoop Process Manager to "Dockerize" apps deployed to it. Just use the --driver docker option when you install the StrongLoop PM service so it automatically converts deployed applications into Docker images and installs them in the Docker Engine running on your deployment system.
$ sudo sl-pm-install --driver dockerNow, whenever you deploy an app to StrongLoop PM on this server, your app will be turned into a Docker image and then run in a Docker container.
Or: Install and run from Docker Hub
Run the script below to download the image, start a StrongLoop PM container, and create an Upstart or systemd config file. The app will use ports 3001-3010; StrongLoop PM will use port 8701 and will automatically restart if your server reboots.
$ curl -sSL https://strong-pm.io/docker.sh | sudo /bin/shFor more information on installing from Docker Hub, see Setting up a production host in StrongLoop documentation.
Build your application
NOTE: This assumes you followed the steps in Use locally on your workstation to install StrongLoop on your workstation and have a Node app to deploy.
Back on your workstation, you're going to build your app for deployment. You can either build an npm package (a .tgz file) or build to a Git branch.
If your project code is in a Git repository, then by default slc build
will commit to a 'deploy' branch in Git.
See Committing a build to Git for details.
$ slc build
Running `npm install --ignore-scripts`
Running `npm prune --production`
Running `git add --force --all .`
Running `git write-tree`
  => 11476565ef4903367a5b545438ecfb4d2b0a2404
Running `git commit-tree -p "refs/heads/deploy" -m "Commit build products" 11476565ef4903367a5b545438ecfb4d2b0a2404`
Running `git update-ref "refs/heads/deploy" ca436bfcf83517da7d943d4c90427c071af4e9d8`
Committed build products onto `deploy`
If your project code is not in a Git repository, then by default slc build
will build an npm package (a .tgz file).
See Creating a build archive for details.
$ slc build
Running `npm install --ignore-scripts`
Running `npm prune --production`
Packing application to ../express-example-app-1.0.0.tgz`
Deploy to remote host
Deploy the npm package (.tgz file) file to the remote StrongLoop PM. By default, slc deploy looks in the parent directory for a .tgz file with the name and version specified in your app's package.json.
In this case, it finds express-example-app-1.0.0.tgz, so it deploys it to the specified host.
Your app is now deployed!
$ slc deploy http://your.remote.hostIf the tool doesn't find a .tgz file, then by default it deploys the app from the Git 'deploy' branch. You can also specify a .tgz file or Git branch as an argument. If you want to try this out, just delete the .tgz file and re-enter the above command.
Open http://your.remote.host:3001 to see the app in your browser.
For more information, see Deploying applications with slc in the documentation.
Display app status
Get a quick status overview with all worker PIDs, cluster worker IDs, other key information.
$ slc ctl status --control http://your.remote.host
Service ID: 1
Service Name: express-example-app
Environment variables:
  No environment variables defined
Instances:
    Version  Agent version  Cluster size
     4.3.2       1.6.11            4
Processes:
        ID      PID   WID  Listening Ports  Tracking objects?  CPU profiling?
    1.1.61192  61192   0
    1.1.61193  61193   1     0.0.0.0:3001
    1.1.61194  61194   2     0.0.0.0:3001
    1.1.61195  61195   3     0.0.0.0:3001
    1.1.61196  61196   4     0.0.0.0:3001
Change cluster size on remote host
By default the Process Manager runs one process per CPU. So, on a four-core system it will run the app in a four-process cluster.
You can easily change the cluster size.
Now if you display status again, you'll see only two worker processes running.
$ slc ctl --control http://your.remote.host set-size express-example-app 2
$ slc ctl status --control http://your.remote.host
...
Processes:
    ID         PID    WID  Listening Ports  Tracking objects?  CPU profiling?
    1.1.61192  61192   0
    1.1.61193  61193   1     0.0.0.0:3001
    1.1.61194  61194   2     0.0.0.0:3001
For more information see Clustering in the documentation.
Re-deploy app with zero downtime
When your code changes, simply rebuild and re-deploy it to the production host (for example, using Git deploy). StrongLoop Process Manager automatically performs a rolling restart of all processes, so you get zero downtime.
$ slc deploy http://your.remote.host Generate logs
$ slc ctl --control http://your.remote.host log-dump express-example-app --follow 2015-03-25T04:21:08.447Z pid:70339 worker:0 INFO strong-agent using collector https://collector.strongloop.com:443
2015-03-25T04:21:08.447Z pid:70339 worker:0 INFO strong-agent v1.3.2 profiling app 'express-example-app' pid '70339'
2015-03-25T04:21:08.447Z pid:70339 worker:0 INFO strong-agent[70339] started profiling agent
2015-03-25T04:21:08.447Z pid:70339 worker:0 INFO supervisor starting (pid 70339)
2015-03-25T04:21:08.447Z pid:70339 worker:0 INFO strong-agent strong-agent using strong-cluster-control v2.0.0
2015-03-25T04:21:08.447Z pid:70339 worker:0 INFO supervisor reporting metrics to `internal:`
2015-03-25T04:21:08.451Z pid:70339 worker:0 INFO supervisor size set to 4
2015-03-25T04:21:08.455Z pid:70339 worker:0 INFO supervisor listening on 'runctl'
2015-03-25T04:21:08.521Z pid:70339 worker:0 INFO supervisor started worker 1 (pid 70340)
2015-03-25T04:21:08.656Z pid:70339 worker:0 INFO supervisor started worker 2 (pid 70341)
2015-03-25T04:21:08.775Z pid:70339 worker:0 INFO supervisor started worker 3 (pid 70342)
2015-03-25T04:21:08.948Z pid:70340 worker:1 INFO strong-agent[70340] started profiling agent
2015-03-25T04:21:08.949Z pid:70339 worker:0 INFO supervisor started worker 4 (pid 70343)
2015-03-25T04:21:08.950Z pid:70339 worker:0 INFO supervisor resized to 4
2015-03-25T04:21:08.970Z pid:70339 worker:0 INFO strong-agent[70339] connected to collector
2015-03-25T04:21:09.030Z pid:70341 worker:2 INFO strong-agent[70341] started profiling agent
2015-03-25T04:21:09.082Z pid:70340 worker:1 Listening on port: 3001
2015-03-25T04:21:09.159Z pid:70342 worker:3 INFO strong-agent[70342] started profiling agent
2015-03-25T04:21:09.229Z pid:70343 worker:4 INFO strong-agent[70343] started profiling agent
2015-03-25T04:21:09.231Z pid:70341 worker:2 Listening on port: 3001
2015-03-25T04:21:09.758Z pid:70342 worker:3 Listening on port: 3001
2015-03-25T04:21:09.759Z pid:70343 worker:4 Listening on port: 3001
2015-03-25T04:21:09.760Z pid:70340 worker:1 INFO strong-agent[70340] connected to collector
2015-03-25T04:21:09.840Z pid:70341 worker:2 INFO strong-agent[70341] connected to collector
2015-03-25T04:21:09.873Z pid:70342 worker:3 INFO strong-agent[70342] connected to collector
2015-03-25T04:21:09.955Z pid:70343 worker:4 INFO strong-agent[70343] connected to collector
Deploy a second app to PM
One StrongLoop Process Manager can host multiple applications. This minimizes resource consumption in a production environment (since PM incurs some overhead), and provides a single control point to make management easier.
An application runtime instance is referred to as a "service." PM assigns each service a numeric identifer and a name (by default the name property from the app's package.json). Notice the "service name" shown when you displayed app status above. Use the --service option to specify a different service name.
For example, suppose you have an app that manages your accounts API. After building it with slc build as shown previously, you could deploy it to PM as "acct-service" as follows:
$ slc deploy --service acct-service http://your.remote.host Now, when you display status, PM will show you both services.
$ slc ctl -C http://your.remote.host
Service ID: 1
Service Name: express-example-app
Environment variables:
  No environment variables defined
Instances:
    Version  Agent version  Cluster size  Driver metadata
     4.3.2       1.6.11           4             N/A
Processes:
        ID      PID   WID  Listening Ports  Tracking objects?  CPU profiling?  Tracing?
    1.1.11256  61192   0
    1.1.11257  61193   1     0.0.0.0:3001
    1.1.11262  61194   2     0.0.0.0:3001
    1.1.11289  61195   3     0.0.0.0:3001
    1.1.11301  61196   4     0.0.0.0:3001

Service ID: 2
Service Name: acct-service
Environment variables:
  No environment variables defined
Instances:
    Version  Agent version  Cluster size  Driver metadata
     4.3.2       1.6.11           4             N/A
Processes:
        ID      PID   WID  Listening Ports  Tracking objects?  CPU profiling?  Tracing?
    2.1.12278  61197   0
    2.1.12279  61198   1     0.0.0.0:3002
    2.1.12280  61199   2     0.0.0.0:3002
    2.1.12281  61200   3     0.0.0.0:3002
    2.1.12282  61201   4     0.0.0.0:3002
Set up secure access
You may have noticed that slc has been connecting to your production server over HTTP. Of course you need to set up secure access to your servers. Fortunately, StrongLoop PM supports secure connections using SSH.
First, verify that you have SSH remote access as follows:
Note: Your remote user name may be something other than "root".
$ ssh root@the.remote.host
$ SSH_USER=root slc ctl status
Then set up SSH key-based authentication, if you haven't done so already.
You just need to set some environment variables, then enter these commands: From then on you can use http+ssh instead of plain old http to control and deploy securely to your server.
See Generating SSH keys if you need some guidance.
$ export SSH_USER=root
$ export SSH_KEY=~/.ssh/ec2.rsa
$ slc deploy http+ssh://the.remote.host
$ slc ctl -C http+ssh://the.remote.host status
View CPU and memory profiles
To get meaningful data, run the profiler while your application is under typical or high load.
On your local (development) system, start StrongLoop Arc.
Log in, if you're not already logged in.
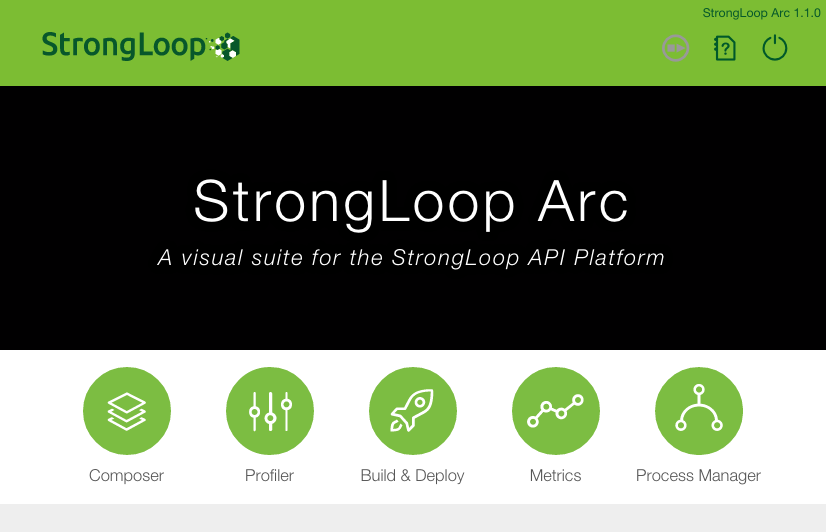
You'll see the StrongLoop Arc splash screen:
$ slc arc
In Arc, click Profiler.
In Arc Profiler:
- Enter the host name of your production system and the port on which StrongLoop PM is running (8701 by default).
- Click Load to load. You'll see the PIDs of the app processes; the first one is selected by default.
- "JavaScript/Node.js CPU Profile" is selected by default. Click Start to start CPU profiling the first worker process. Wait about five seconds then click Stop.
- Select "Heap Snapshot" and repeat the process
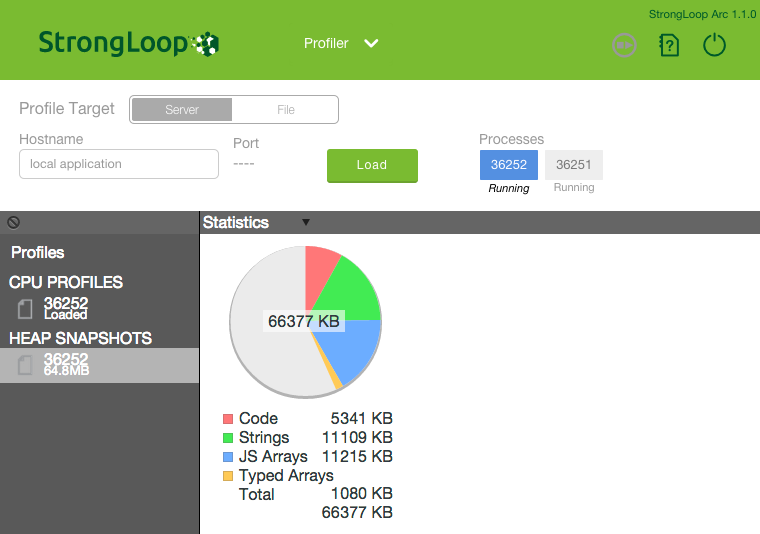
- Each time you do this, the profile is added to the Profiles list on the left. Select each profile in the list to view it; for example as shown below.


For more information, see Profiling in the documentation.
Monitor performance metrics
If you haven't already done so, set up your StrongLoop license key for monitoring performance metrics. See Local Use for instructions.
Click Metrics.
Enter the host name of your production system and the port on which StrongLoop PM is running (8701 by default).

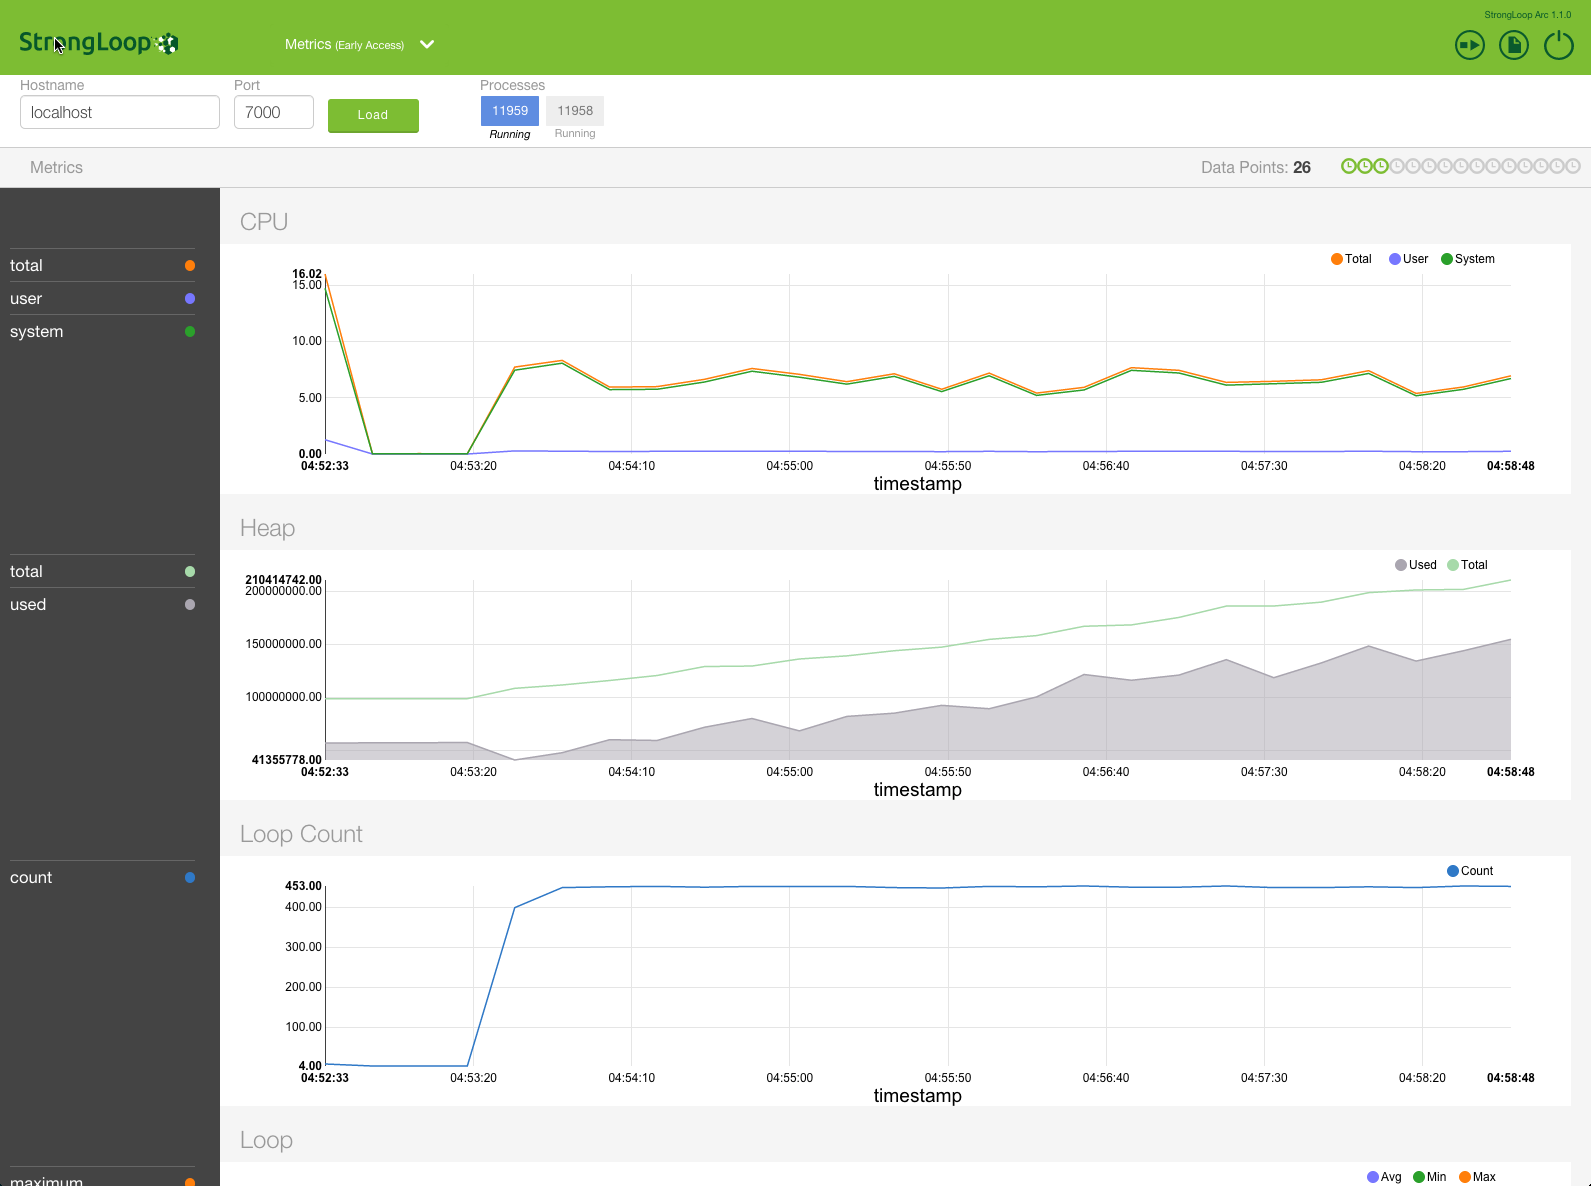
Arc will show the process IDs (PIDs) for the app running on the remote host and display peformance metrics, including statistics on CPU use, event loop execution, and heap memory consumption for the first process shown.
For details on the available metrics, see Available metrics.

Trigger CPU profiling when the Node event loop stalls
To trigger CPU profiling when the Node event loop stalls, simply add a timeout argument to specify the threshold: if the event loop stalls for longer than that time, then CPU profiling starts. It stops when the event loop resumes execution.
For example, to start CPU profiling for process ID 22670 in service ID 1, when event loop stalls for more than 12ms:
$ slc ctl cpu-start 1.1.22670 12 Set up load balancer
Assuming you have already installed Nginx....
First, install and run the StrongLoop Nginx Controller service on your load balancer host.
Then add the load balancer in Arc:
- Click Process Manager.
- Add all your Process Manager hosts.
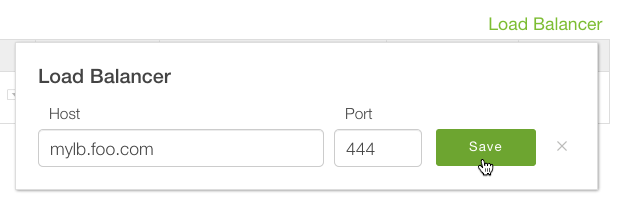
- Click Load Balancer. Enter the Nginx load balancer host and port.
$ npm install -g strong-nginx-controller
$ sl-nginx-ctl-install